
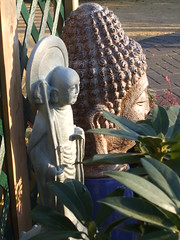
Before
- Open the photograph you want to improve in Photoshop
- Duplicate the background layer
- Filter > Other > High Pass
- Set the radius to 8 pixels
- Click OK
- Set the Layer Mode to Hard Light
- Right click on the top layer and choose 'Merge Down'
- Save as... and you're done.
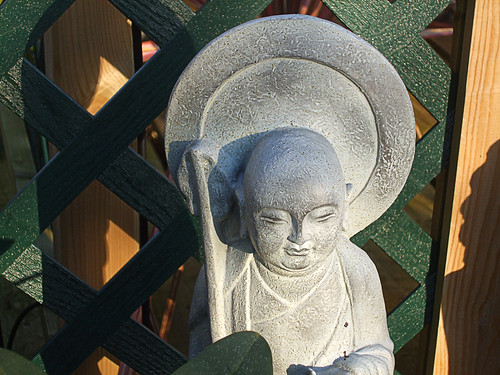
Before


3 comments:
Thanks for this tutorial! I already used it :)
Hi Philippa, I stumbled into your blog by looking up photoblog via Ringsurf.
I'm adding you to my very-much-not-so-daily photo blog with the hopes to increase my postings and camera work. I'm also learning Photoshop Elements and am dipping into creating custom brushes.
oh, and I meant to share why I liked your blog...
the themes on a topic, like creating a series, is why I'd like to keep your blog on my list.
peace,
Post a Comment