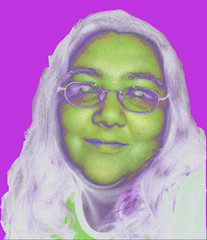
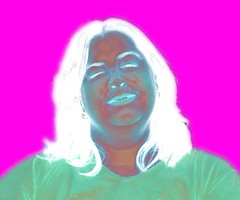
- Open a portrait, ideally a head or head and shoulders shot.
- Layer > Duplicate Layer
- Filter > Stylize > Solarize
- Filter > Adjustments > Invert
- Layer > New Adjustment Layer > Brightness and Contrast
- Play around with the brightness and contrast settings until you are happy.
- Layer > New Adjustment Layer > Hue and Saturation
- Play around, especially with different hues, until you are pleased with the resulting colours
- Using magnetic lasso tool, draw around the shoulders, neck, hair, head etc.
- Right click on the image and choose 'Select Inverse'
- Right click on image, click Feather
- Layer > New Fill Layer > Solid Colour
- Pick your Colour. Press OK.
- Crop the image if necessary
- Layer > Flatten Image
- Save your image


No comments:
Post a Comment